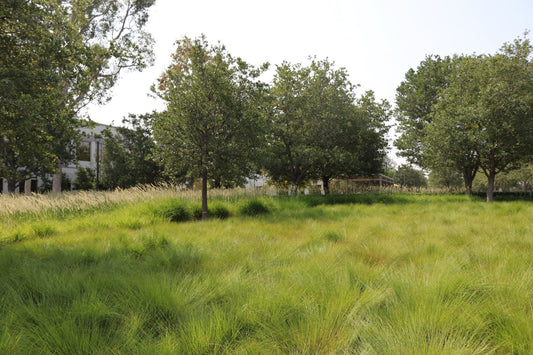
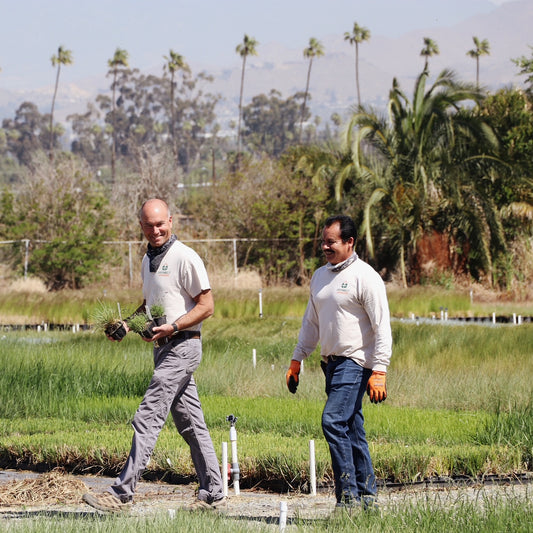
Congratulations on making the switch to California Native grasses! Your new garden is well on its way to becoming a vibrant, low-maintenance biodiversity hot spot. Now begins the establishment period, a crucial time after landscape installation, the plants are setting roots and adjusting to their new environment. Proper after-planting care plays a significant role in ensuring the long-term success of your new lawn. Effective post-planting care is essential for nurturing this growth and ensuring lawn health and vitality.
Keys to Success
The establishment period is the foundation of successful integration for new grasses. This phase is critical because it determines how well your grasses will grow and perform in the long term. During this time, your main goals are to provide consistent care, minimize stress, and help your grasses develop a strong foundation.
Key areas of focus:
- Consistent Watering: Maintain consistent soil moisture without creating waterlogged conditions. Deep, infrequent watering encourages the development of deep roots and enhances drought resistance over time. Tailor your watering schedule to the specific needs of your grass species and prevailing weather conditions.
- Minimize Foot Traffic: Limit walking on or placing heavy objects on the newly planted area. Excessive foot traffic can compact the soil and stress the young grasses, impeding their establishment and growth.
3.Mitigate Weeds: Weeds pose a significant challenge during the establishment phase, competing with your native grasses for essential resources.
Tips for Controlling Weeds

No two yards are the same, and what works for your friends and neighbors may not work for you. Mix and match the following strategies to manage weeds effectively:
- Manual Removal: For smaller areas, hand-pulling weeds is an effective method. Ensure complete removal of the roots to prevent regrowth, especially when grasses are still young and lack the density outcompete weeds. As your lawn grows in weed pressure will be reduced as the open space required for seeds to germinate becomes shaded or occupied by the landscape.
- Mulching: Apply a thin layer of mulch or straw to suppress weed growth. This layer also helps retain soil moisture and regulate temperature. Avoid excessive mulching, which can smother young grasses. Mulching has its own set of hazards associated with it, ensure your source is reliably clean of trash particles and weed seeds.
- Mowing: A lawn mower set to its highest setting, or a carefully wielded weed whacker can be an effect method for preventing flowering and the spread of additional weed seeds.
- Chemical Control: Always use caution when applying herbicides and follow label instructions. Chemical control is the most effective and least labor intensive option but can be environmentally hazardous when done improperly.
How do I know if I am overwatering?
Overwatering is one of the main causes of failure. When switching to a native lawn expect to go through an irrigation adjustment period. It is common for home irrigation timers to be set to run 3-4 times a week for short periods or multiple times a day. Native plants are naturally adapted to our environment, so expect to have a learning curve when it comes to providing the right irrigation. As a general rule, our Living Lawns and Meadows in a Box products should be watered twice a week for 20-30 minutes to allow a deep watering that will encourage the roots to spread. Keep an eye on your plants and adjust irrigation as necessary, eventually they will only require occasional water depending on the weather but for now they need the extra help.

Here are some tell tale signs of overwatering:
- Yellowing and Brown splotches : If your grasses exhibit yellowing or browning, it may indicate overwatering. Discoloration is an indicator of plant stress, monitor your plant color as a change in hue can be the first indicator of change.
- Pooling Water: Water pooling on the soil surface rather than being absorbed is a sign of overwatering. Standing water is an indication of super saturated soil. Plants require oxygen found in the open spaces created by soil, water displaces oxygen and essentially suffocates the plants. The lack of oxygen discourages root growth and will eventually lead to root rot and death.
- Soil Condition: Regularly check the soil. Consistently soggy soil or a sour smell indicates excessive moisture. Allow the soil to dry out between waterings to promote healthy root growth. Most home improvement stores sell soil moisture meters, consider purchasing one or use your finger. Yes, fingers are the best gardening tools. Knowing when to water just by touching the soil is a skill of a master gardener. And you can do it too! Generally, irrigation is required when the soil returns to a lighter shade of brown, has a firm crumbly texture and is cool to the touch but doesn’t stick to your hand or leave your fingers wet. Always remember that each yard is unique and it will take some time to become familiar with your specific soil.
- Algae or Mold: The presence of algae or mold on the soil surface suggests excessive moisture. Moss, algae and mold all need constant moisture to grow. If these pests develop simply reduce watering and watch them disappear.
You can do this!
Effective post-planting care is essential for the successful establishment of California native grasses. By focusing on consistent watering, managing weeds, and avoiding overwatering, you will help ensure that your new lawn thrives and remains a beautiful, sustainable feature of your landscape. With careful attention and patience, watch your yard transform into a space filled with life and diversity. Feel good knowing all your hard work paid off by increasing both the ecological and aesthetic value of your garden.


